Our landing had a weather system. Stand under the loft hatch on a windy night and your fringe moved. The stairs felt colder than the bedrooms, and the smoke pencil from test day got sucked up like the house was trying to inhale the attic. Not a mystery; a leaky lid.
What I started with
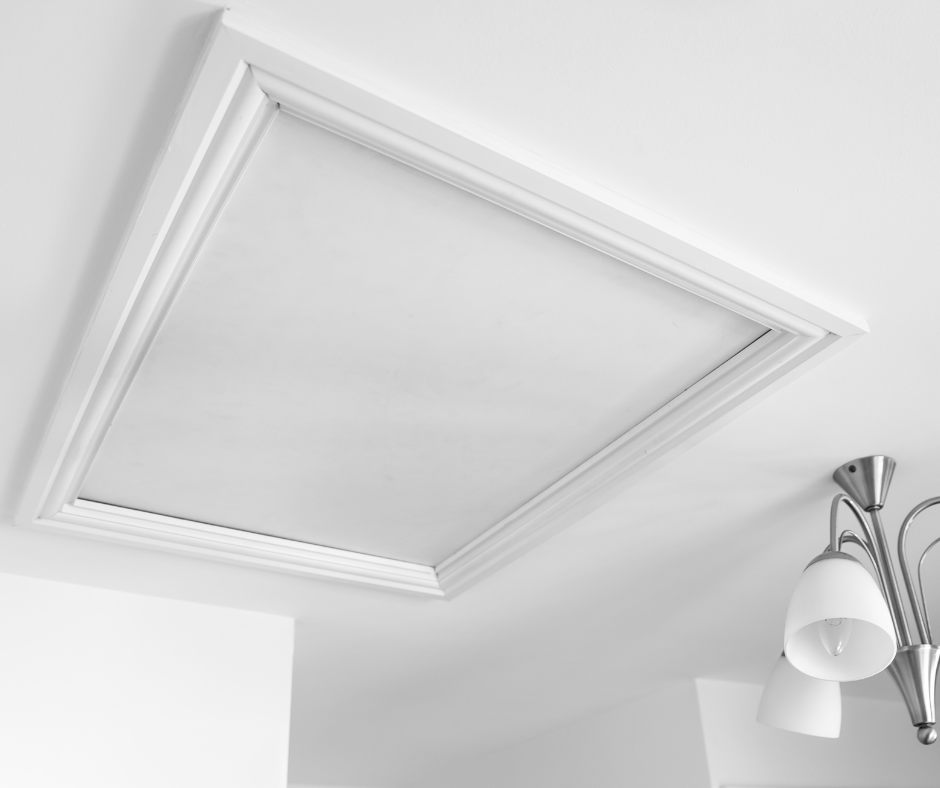
A bowed MDF hatch sitting on tired stick-on foam, two paint-clogged hinges, a magnetic catch that barely held. No rebate, no compression. From the blower-door walk-round it was one of the loudest leaks in the house.
Target
Make the hatch act like a door with a seal. Air-tight first, then warm. I didn’t want fancy—just something that shut properly and stayed shut.
Parts & tools (all in):
- EPDM foam strip 10×3 mm (closed-cell)
- Two small toggle/compression latches
- A thin aluminium angle (as a strike face)
- 6 mm plywood offcut + grip adhesive for a new flat underside
- 100 mm mineral wool slab (to sit on the top)
- Screws, filler, sandpaper, sharp chisel, drill/driver, IR thermometer, smoke stick
Steps (two hours with tea):
- Flatten the playing field. The MDF was banana-shaped. I glued and pinned a 6 mm ply skin under it to give a flat sealing face. Quick sand to kill the high spots.
- Continuous seal. EPDM foam on the loft side of the frame, unbroken around corners. I mitred the ends so there’s no little gap where draughts love to sprint.
- Compression, not hope. Two toggle latches opposite the hinges. They pull the lid down evenly and keep pressure on the foam. I added a small aluminium angle as a strike so the screws don’t just chew timber.
- Stop the rattle. Hinges cleaned, refixed square so the lid sits dead flat. A magnetic catch can’t do this job; compression can.
- Insulate the top. A 100 mm mineral-wool slab on the hatch (stuck and taped) so the lid’s not a bare cold spot. Hatch now weighs a bit more; fine.
Before/after (same evening):
- Smoke pencil: before, full plume up the edge; after, almost nothing, even on gusts.
- IR temps at the hatch perimeter: before 13–14 °C, after 17–18 °C (landing was ~18.5 °C).
- Landing feel: no micro-draft on your cheeks; the “cold waterfall” down the stairs stopped.
- Noise/dust: weird bonus—the stairwell got quieter and less dusty. The loft isn’t sharing filth anymore.
Next morning numbers:
With doors shut and heating steady, the landing held ~19.2 °C instead of sliding to 17.something by breakfast. Bedrooms didn’t need their TRVs cranked for the first hour.
Time & cost
About £35–£45 depending on what you already own, ~2 hours including clean-up. The latches were the only thing I didn’t have; worth it.
Mistakes I nearly made
- Over-crushing the foam. If you clamp it flat, it won’t spring and seal next week. Aim for firm contact, not death grip.
- Seal gap at corners. Don’t butt-join strips; mitre or overlap so there isn’t a pin-hole.
- Forgetting the top. An airtight cold lid still radiates cold. Add insulation so it’s not a chill patch.
- Hinge skew. If the lid isn’t square to the frame, you’ll chase leaks forever. Ten extra minutes here saves hours of cursing.
Small job, big comfort. The landing doesn’t feel like outdoors, the boiler cycles less first thing, and the dog stopped sleeping on the third stair (his old warm updraft perch). Next target: the gap under the front door that eats socks and heat in equal measure.